Week 7: Refining Lighting and Reflections
- Clarisse Chiang
- May 16, 2022
- 3 min read
Updated: May 30, 2022
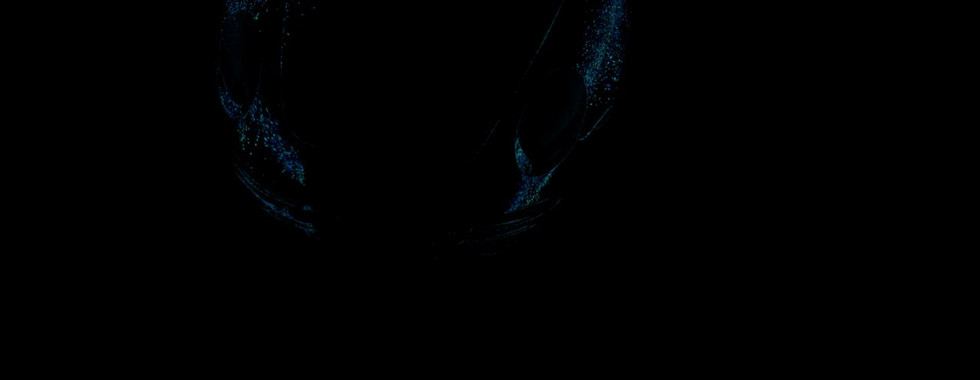
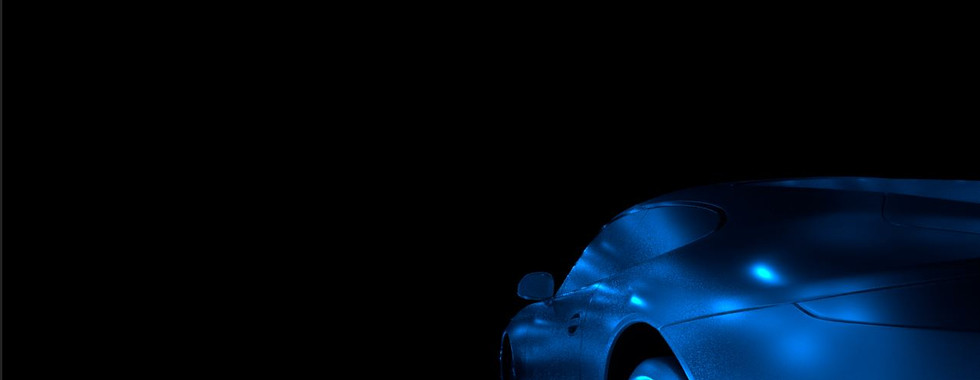
After presenting our progress there were several issues with the lighting and reflections that were brought up which I worked to resolve. The first was that the reflections of the particles were not very visible on the car. To solve this I added another render layer, separate from the glow of the particle lighting on the car, with the sharper particle reflections. Joleen was able to give me the .ass particle files with the Houdini shaders we were rendering with which I used for this layer. The difference in the effects of the reflections and the glow from the mesh light particles gave Bua more control in compositing.
I added these layers to all 3 shots and updated them with particle iterations as Joleen got them to me.
Particle Glow and Particle Reflect layers for all shots
One of the mentors also mentioned the contact shadow could use some work, so I added an occlusion layer for the tires.

Shot 1 Tire Occlusion layer
When I started working on the reflections for shot 1 the set up with the environment cards was as depicted below. These cards were placed to maximize the reflections on the top of the car, to avoid warping, and to not completely block the HDRI lighting (which is why there was no card on the left side of the car).

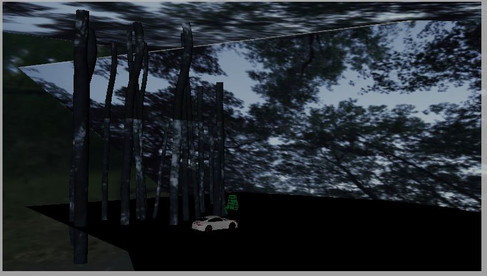
One of the things suggested by Prof. Gaynor was using proxy tree geometry with a projected texture placed along the left side of the car for the reflections there. This would allow the HDRI lighting to show through as well as include actual depth in the reflections on the car in the way a flat plane could not.
Proxy trees with projected forest texture set up without and with cards
This method also helped darken the side of the car, which better matched our reference. I realized this was coming from the projected image I used, as it was darker on the bottom due to the denser low forest growth. One of the mentors had commented that there was too much reflection on the front of the car, and after adjusting the front environment card to match the side ones those reflections were greatly reduced.
Beauty original Beauty with tree geometry and adjusted environment cards
For the reflections on the top of the car I experimented with using opacity on the cards to allow the HDRI to show through. The effects were interesting as you could see both the reflections of the HDRI and the card, but it also muddled the reflections and made it less contrasting. I was not happy with the look and did not include it for this week, but I may continue experimenting.
Beauty- environment cards without transparency Beauty- environment cards with transparency
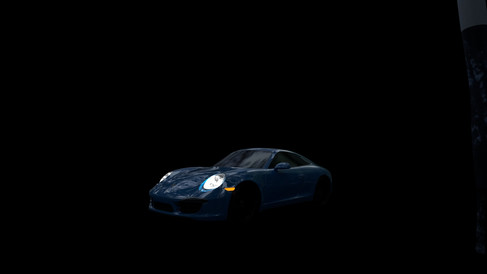
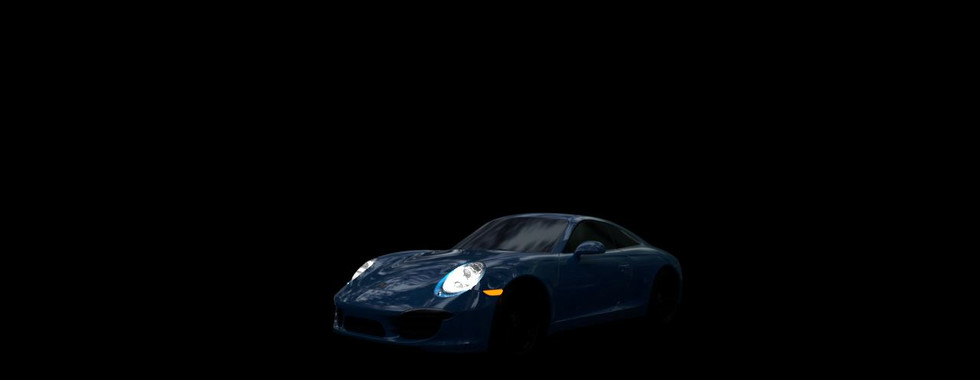
Finally, I worked to brighten the car headlights and adjust their positioning on the ground. Looking at headlight references I tried to replicate the shape of the light on the road by adding directional lights to create more focused beams of light within the wider glow.
Headlight placement iterations
Once I was happy with the positioning I also added a render layer with just the lights and some slight atmosphere for Bua to use in comp to enhance the light rays.























Comments